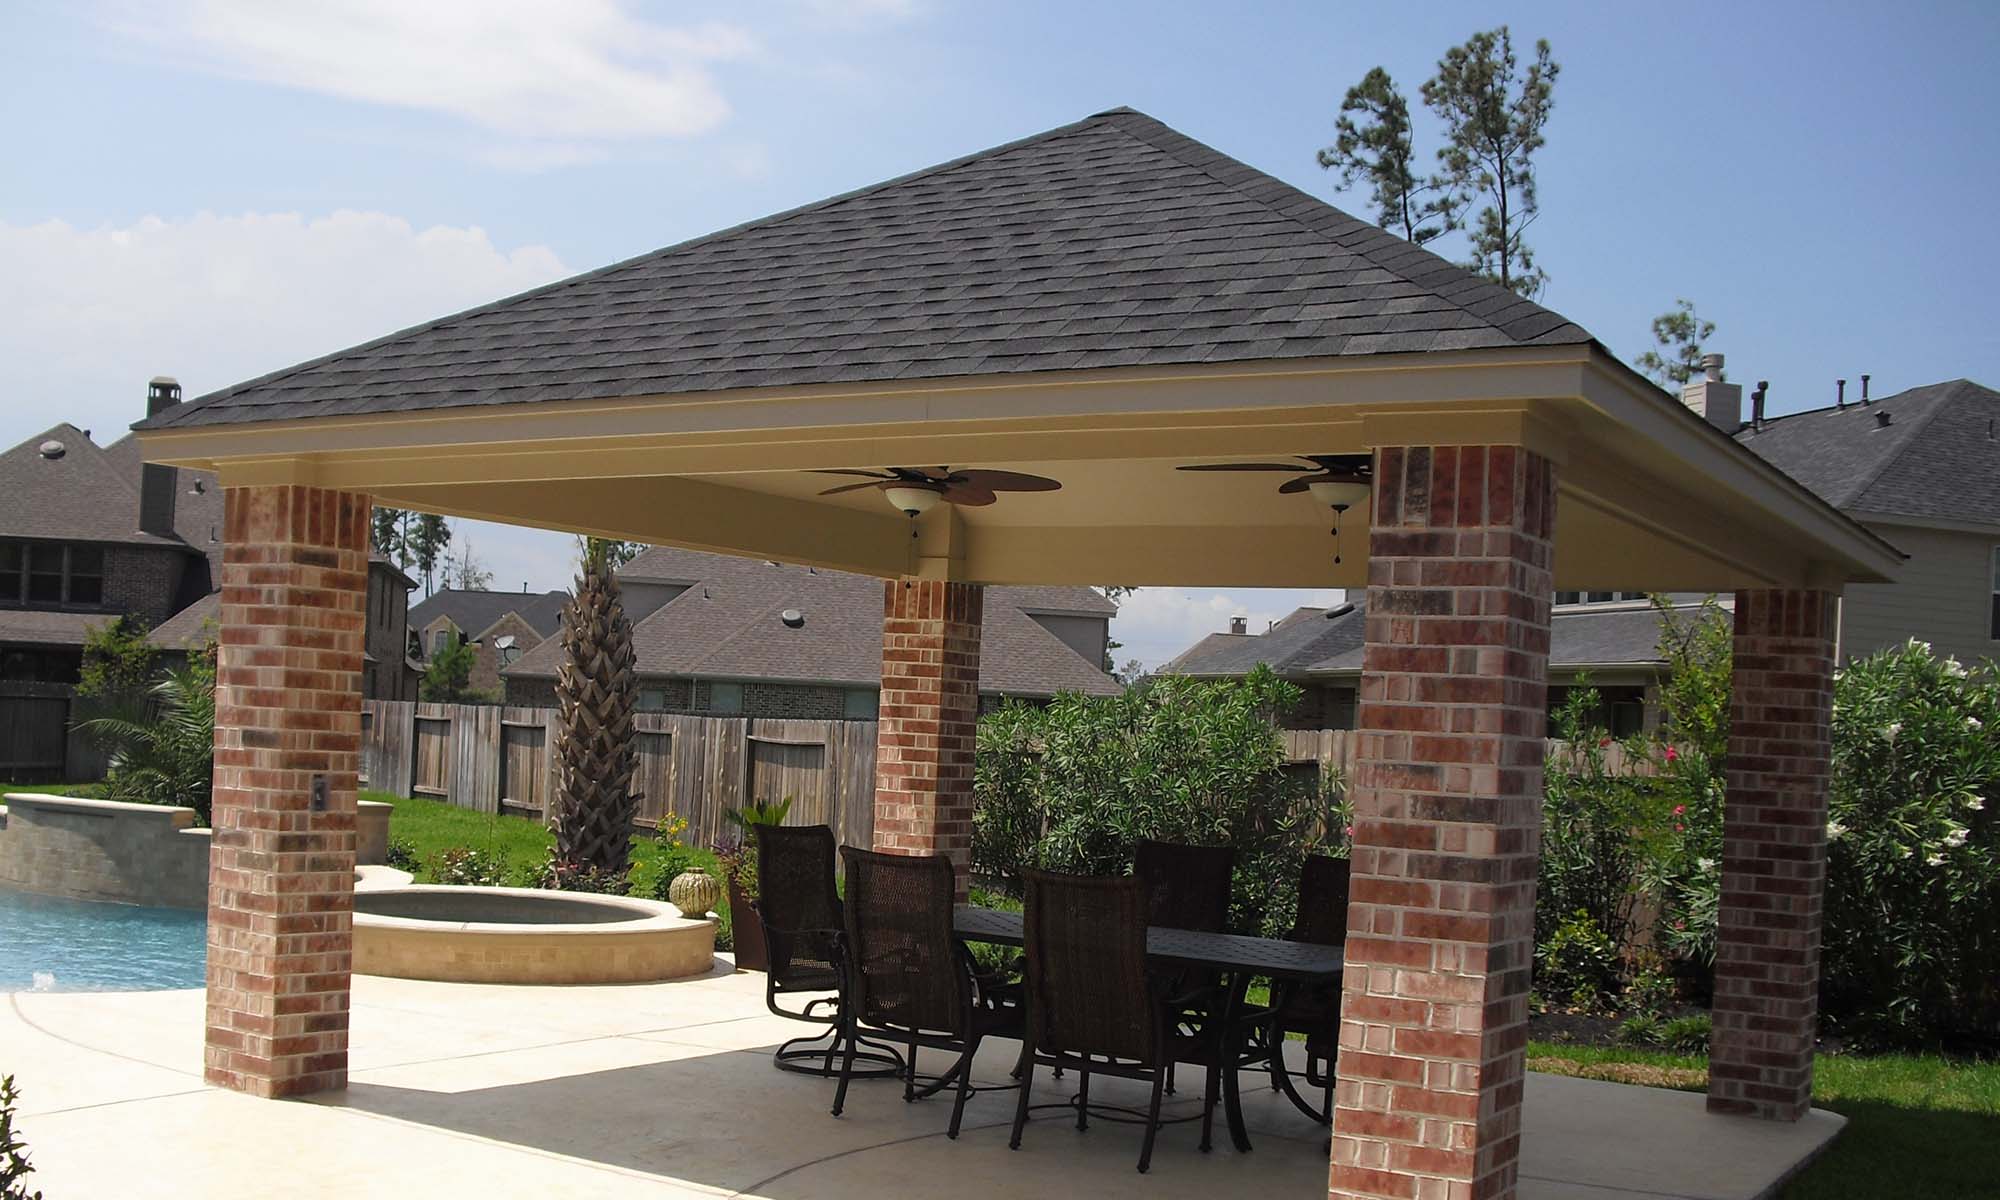
After Part 1, here are the next steps to roofing installation
Pt 2 Outdoor Gazebo Asphalt Shingle System Installation
Now we are ready to put the plywood in place. Using standard framing nails (50mm long shank), nail the plywood at 150mm apart at the edges and 300mm in the centre.
TIP “If you reside in high wind areas or over 8 metres from the ground, nail the entire sheet every 150mm. This is a technique known as storm nailing and is stated in most plywood manufacturers’ guidelines”.
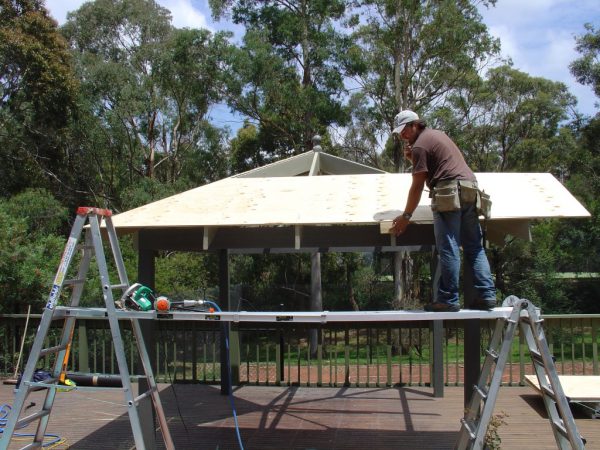
Fix the plywood in staggered fashion for extra structural strength.
TIP “Taking into consideration of the moisture in the environment, place a 2-3mm gap on the short length of the plywood to give room for the plywood to expand, but the tongue and groove ends together without a gap.”
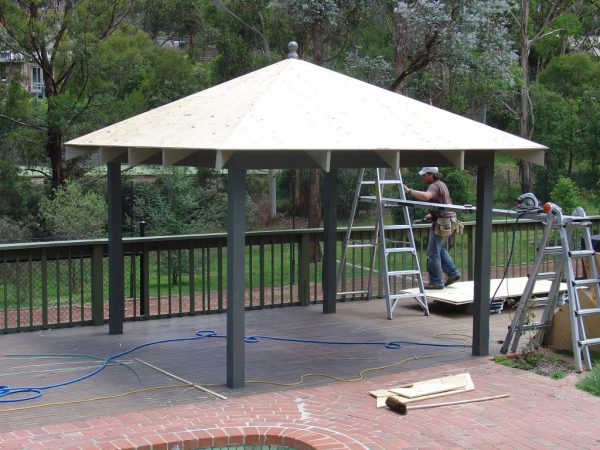
Working over 2 metres high is already considered “Working at heights” and as per Work Safe Guidelines, certain safety measures need to be taken. For this it is recommended to use a scaffolding.
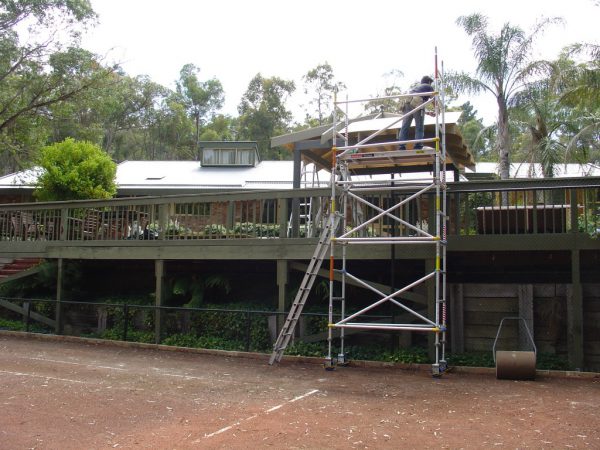
The pic above is a 3.5 metre fall from the fascia, hence the use of a scaffold.
TIP “A 600mm wide aluminum scaffold that is very lightweight and portable, easy to assemble, and cheap to rent.”
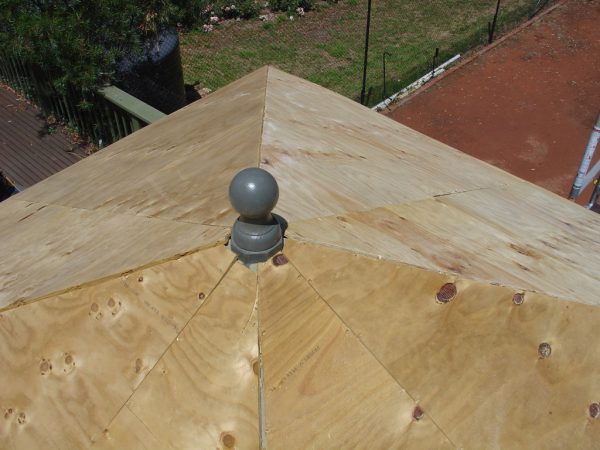
The photo above may seem a bit sloppy on the upper ends of the plywood, not to worry as this can easily be solved as to be shown later on.
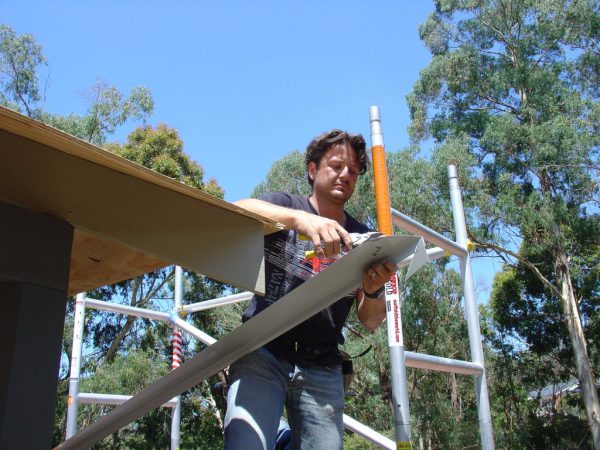
In this particular project, the drip edge is 125mm with a 90° bend then 25mm with a 10mm upturn. The colour is on the outside, generally Monument to match the dual black shingles. This material serves to protect the bottom edge of the plywood which can decay after several years.
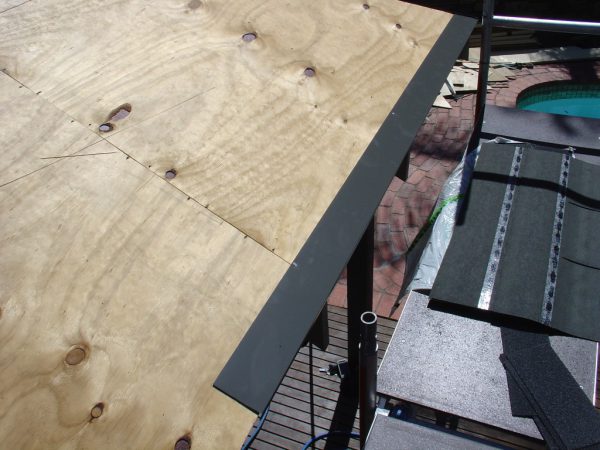
To secure the plywood in place, hammer a nail halfway in on both ends of the face of roof 100mm up from the bottom edge of the plywood and snap a chalk line. This is to position the drip edge 25mm below the bottom edge of the plywood. Then overlap the drip edge material about 100mm at the joint.
TIP “One should never nail through two layers of metal drip edge; this will expand in the heat and buckle and warp.”
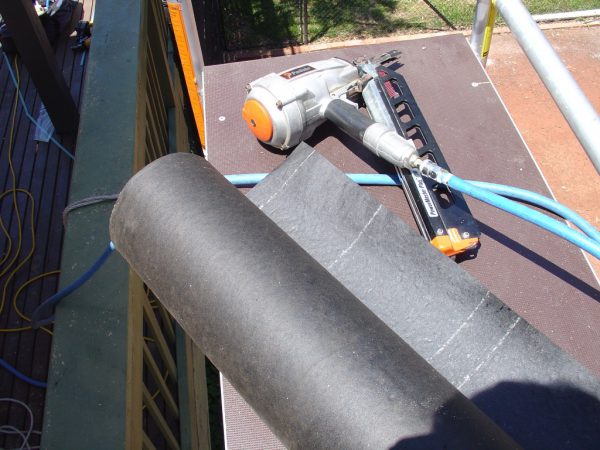
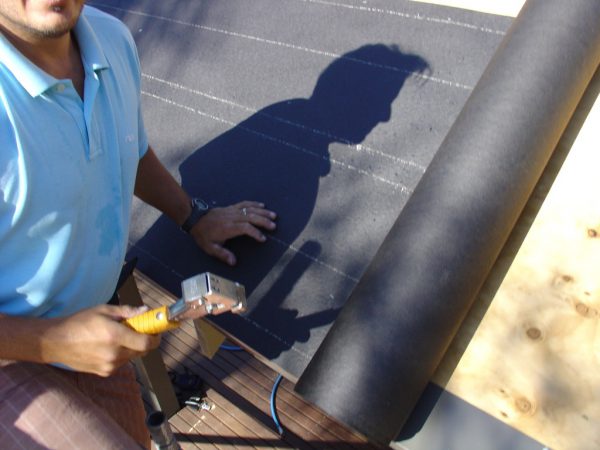
The material above is a full roll of asphalt saturated felt sheet. This serves to provide coverage on the entire outdoor patio area. Each roll covers 40 square meters – although you will lose some area in the overlap.
Applying this felt sheet has several uses:
- It gives the entire system a Class A fire rating. Meaning it resists severe exposure to fire.
- It gives additional protection against severe wind-driven rain.
- It protects the asphalt shingles from toxins seeping out of the plywood.
- Minimizes the instance of picture framing – those visible outlines one can see when the plywood is not perfectly flat.
Applying the Asphalt Saturated Felt Material
Starting from the bottom, lay the asphalt saturated felt material across the roof. The bottom edge of the felt paper should align with the bottom edge of the drip edge. When joining remember to overlap 100 mm on the vertical joins and 50mm on the horizontal joins. You can staple the paper in place to securely hold down the paper.
TIP “For safety reasons, please keep in mind that the asphalt saturated felt sheet is only stapled down and, as such, it can slip under your feet. This particularly is a concern as the pitch becomes steeper.”

Starting at the corner of the outdoor gazebo, roll out the asphalt saturated felt material. Ensure that you line up the bottom of the felt material with the bottom edge of the plywood or the bottom of the drip edge (whichever you have). Make sure you keep the felt material tight as you roll it across the surface of the outdoor gazebo. Use just enough staples to secure the underlay in place. When you have finished laying it up to the other edge, cut the felt material with a Stanley knife.
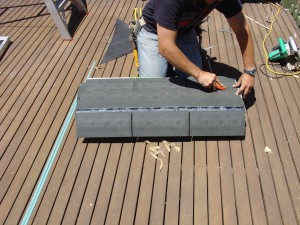
Now for the asphalt shingle pieces: cut the starter course “first course” off the main three tab asphalt shingle pieces. To do this, simply put the bundle of asphalt shingles upside down, and use the back of a shingle piece as a guide and carefully cut off the tabs of the shingle. Each piece of starter course will be 1000mm wide so please take note to cut only as much as you will need.
TIP “Keep the “tabs” pieces that you have cut off as these can serve to fill in pieces up the hips or along the ridge if you have a ridge.”
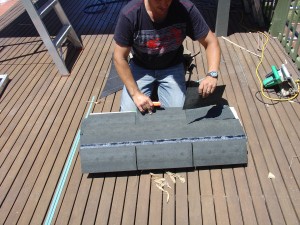
TIP “PLEASE NOTE: The asphalt shingles have a tape at the bottom side. You do not need to remove this. The only purpose of this tape is to keep the asphalt shingles from sticking together in transit’.”
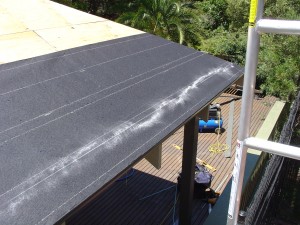
With a measurement of 180mm from the bottom of the felt material on both ends, snap a chalk line. This will serve as a guide for the starter course. The Starter course strips are 190mm deep so when lined up with the chalk line, there will be an overhang at bottom edge over felt material by 10mm. This thus creates a secondary “drip edge” for the water.
