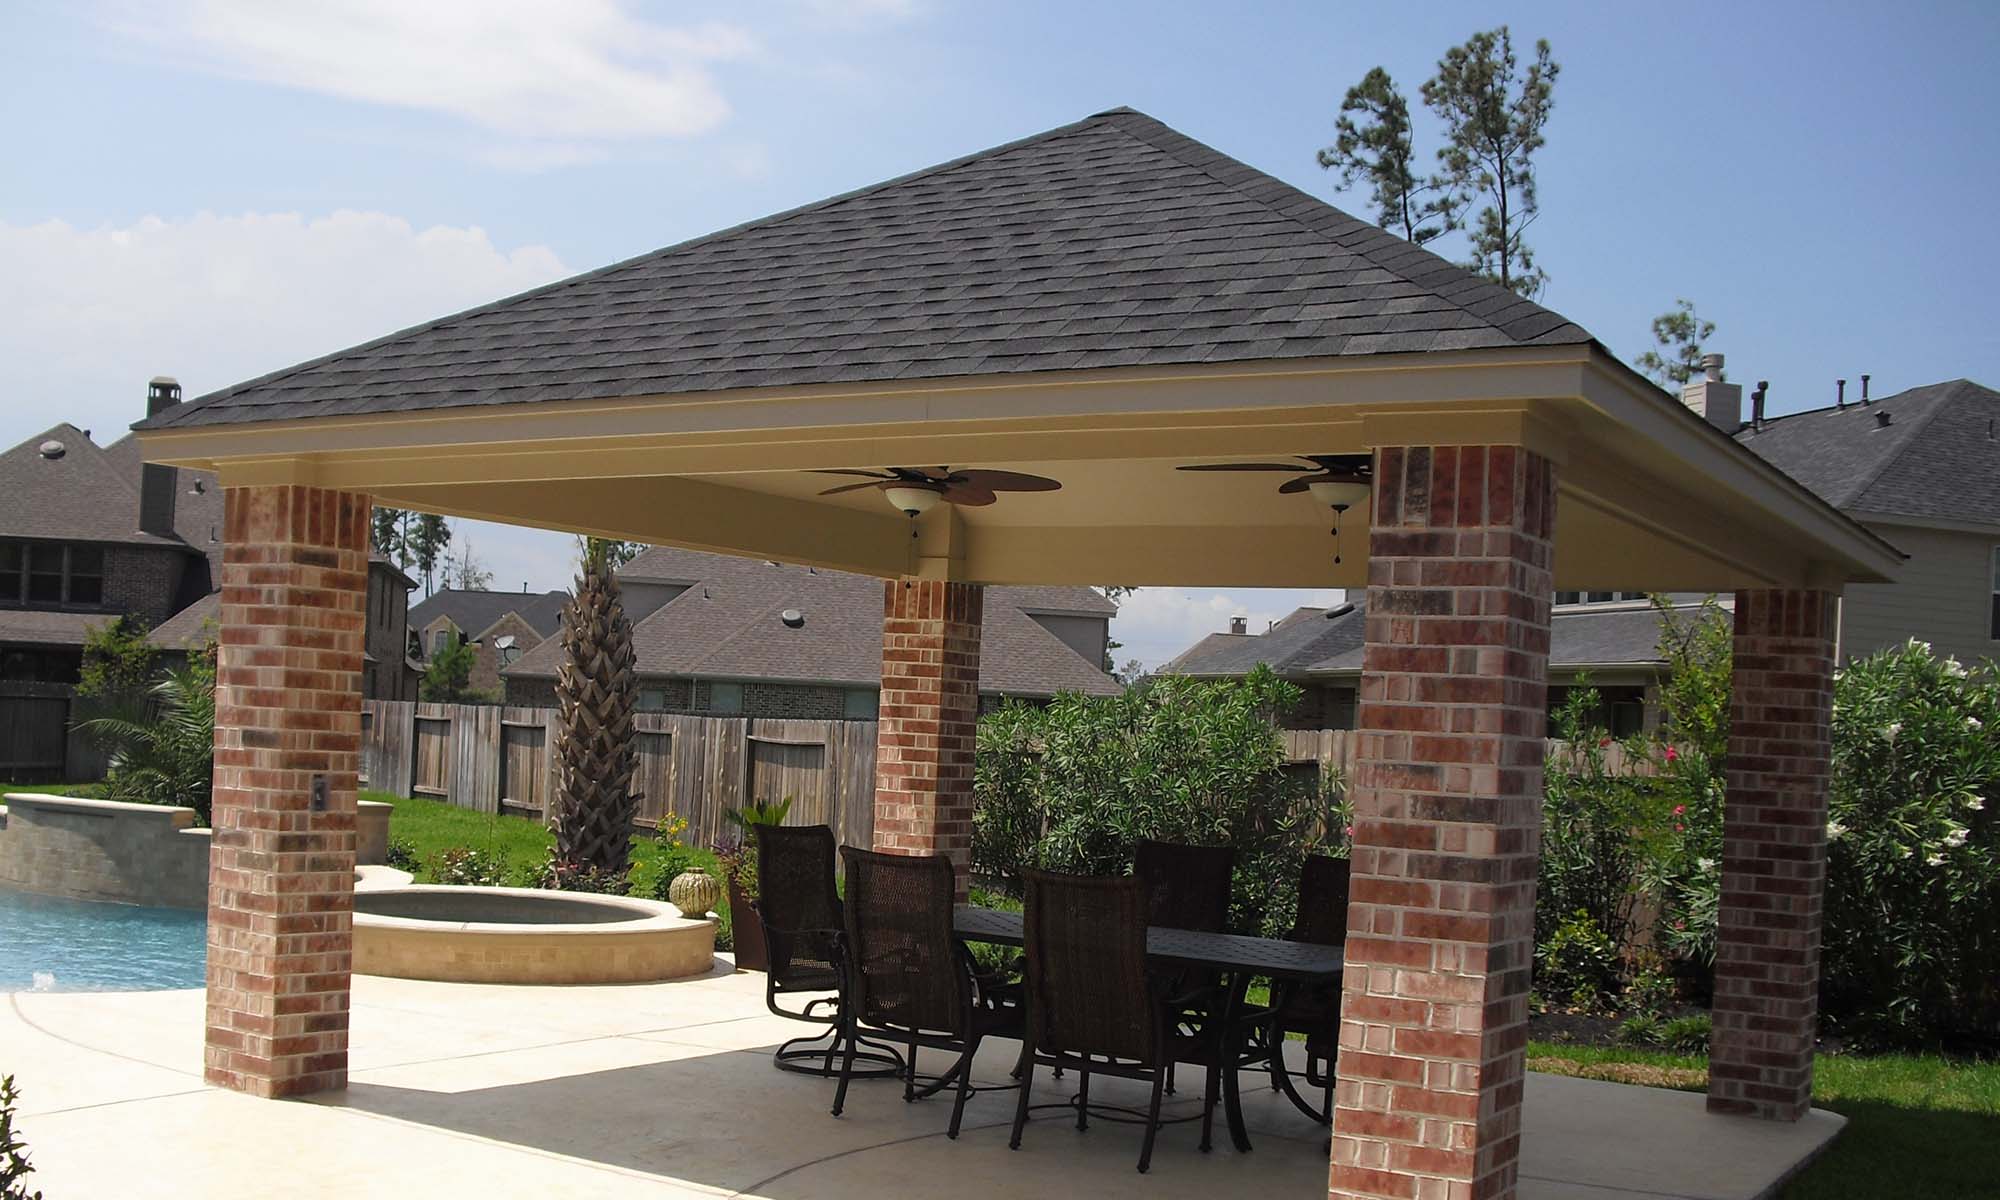
After Part 2, here are the next steps to roofing installation
Pt 3 Outdoor Gazebo Asphalt Shingle System Installation
Note: The instructions outlined herein specifically refer to IKO asphalt roof shingles. Other asphalt shingle manufacturers may have different guidelines.
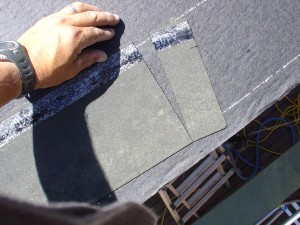
Cut 90mm from the first piece of the starter course. This is to stop the cutouts lining up on the starter and first courses of the asphalt roof shingles.
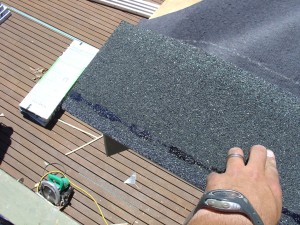
Bring that first piece of starter course just past the roof’s hip line, ensuring to align it with the chalk line. To ensure that you seal down the first full asphalt roof shingle, ensure that the adhesive glue strip is on the bottom edge. Hold the very top edge down with two nails.
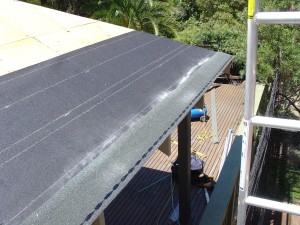
When nailing the starter course down, just follow the chalk line. the pieces of the starter course should be butted up close together.
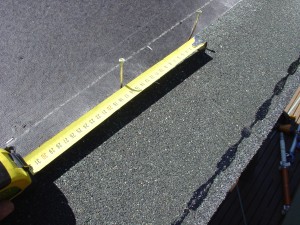
Next, you will find a joint in the starter course towards the middle of the roof. Secure them by hammering two nails about 165mm apart on either side of the cutout. This is half a tab apart and is done so that the shingles are aligned vertically.
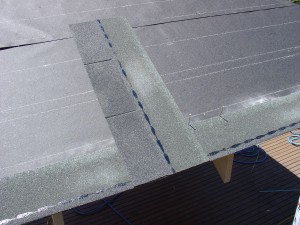
Use a full asphalt roof shingle to mark a vertical line up the roof. This is adequate if you are building a small gazebo. However if you are building a bigger one, it is recommended that you find the exact 90° angle as a small mistake will be obvious from a distance. Climb up the roof so as to accurately snap the first vertical chalk line. From this point, measure 165mm and hammer another nail at this point. From there, snap a second chalk line so that you now have a good guide to align your shingles.
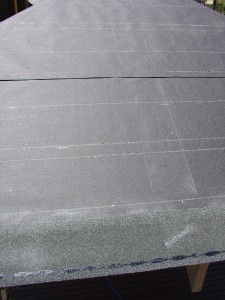
With two vertical chalk lines having a 165mm distance from each other, you can now install the main asphalt roof shingle part of the roof.
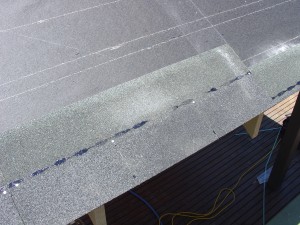
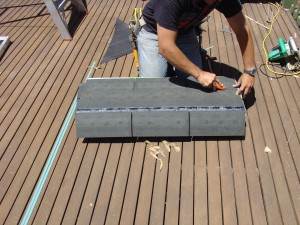
At this point, you have to cut the starter course “first course” off the main three tab asphalt roof shingle pieces. To do this, place the bundle of asphalt roof shingles upside down, then, using the back of a shingle piece as a guide, carefully cut off the tabs of the shingle. The cut line should be aligned with the top of the cutouts of the tabs. A piece of the starter course will be 1000mm wide, so cut only as much as you need.
It also is advisable to keep the tabs you have cut off as you can use this to fill in tiny gaps on the hips or ridge of the roof.
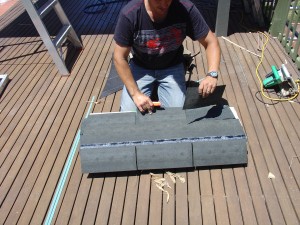
Tip: You will notice that the asphalt shingle has a tape on the bottom side. You need not remove this. This only purpose of the tape is to keep the asphalt shingles from sticking together while in transit.
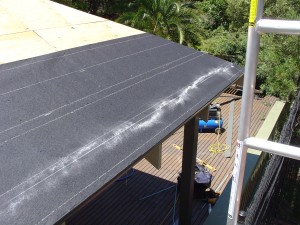
From the bottom of the felt material, measure 180mm on both ends and snap a chalk line. This will serve as a guide for the starter course. The starter course strips are 190mm deep, so when you line it up with the chalk line, there will be an overhang of 10mm. This will create a secondary drip edge for the water.
Click here to go to the last part of this DIY series in building your outdoor gazebo using the asphalt shingles roof system.
